
If you’ve read my article about Cryptopunks Free to Claim, this article will be along those lines. This article once again goes behind the scenes on a commissioned project during 2026 to see the client’s brief and how that brief was met. This article is presented with the client’s permission, and also at their request to show how this brief was met.
The Backstory
The client was preparing a book for artist Oriol Vilanova to showcase the +50,000 postcards he has collected throughout his career.
The Brief
My brief was to assemble the collection of postcards, along with English and Spanish descriptions associated with the postcards. This collection featured:
- Over 50,000 images of postcards in both landscape and portrait orientations;
- Over 160 categories

Each printed page was to contain 90 postcards presented in a grid with nine columns and ten rows, reading left to right and top to bottom. This would require 558 pages to list the +50,000 postcards, and a large portion of the book.
Tackling the brief
First question was how to import this data into InDesign. A few ways could be used, namely:
- Data Merge using multiple records;
- Data Merge using into a table using Loic Aigon’s csv2table script;
- Import as XML; or
- A catalogue plugin such as Cacidi extreme or Teacup Software’s Datalinker (just to name a few);
Unlike the Cryptopunks book that had significant text to format, this project focused more on placing a large quantity of images, so I’d opted to use Data Merge using multiple records.
Divide into workable chunks
As with the Cryptopunks book, over 50,000 images in one large file was going to become unwieldy fast, so it was decided in the brief to make sections of 64pp per InDesign file, later reduced to 32pp per InDesign file to make file handling manageable. This resulted in 18 InDesign files with at least 2,800 images per file for the first 17 InDesign files.
The client understood the assignment
Going into this project, I had several pain-points that I feared would arise, namely:
- Filesizes of images being unmanageable;
- Achieving the correct orientation of each image;
- Placing the files in the correct order; and
- Associating the correct category with the appropriate images
Luckily, the client had foreshadowed many of these pain-points and – to their credit – had:
- Made sure all images (regardless of visual orientation) were always wider in pixels than they were tall. This effectively made every image landscape – so if a postcard was meant to be portrait in visual orientation, its head would face consistently to the right.
- As the images were usually not much larger than a square inch, the actual PPI of each image was quite manageable. The images were more PPI than I would normally use in my own print projects but still far more lightweight than I was expecting.
- Files were supplied in numerical order and named appropriately.
- Files were of a consistent format and naming structure (i.e. no mix of jpg, tif, png)
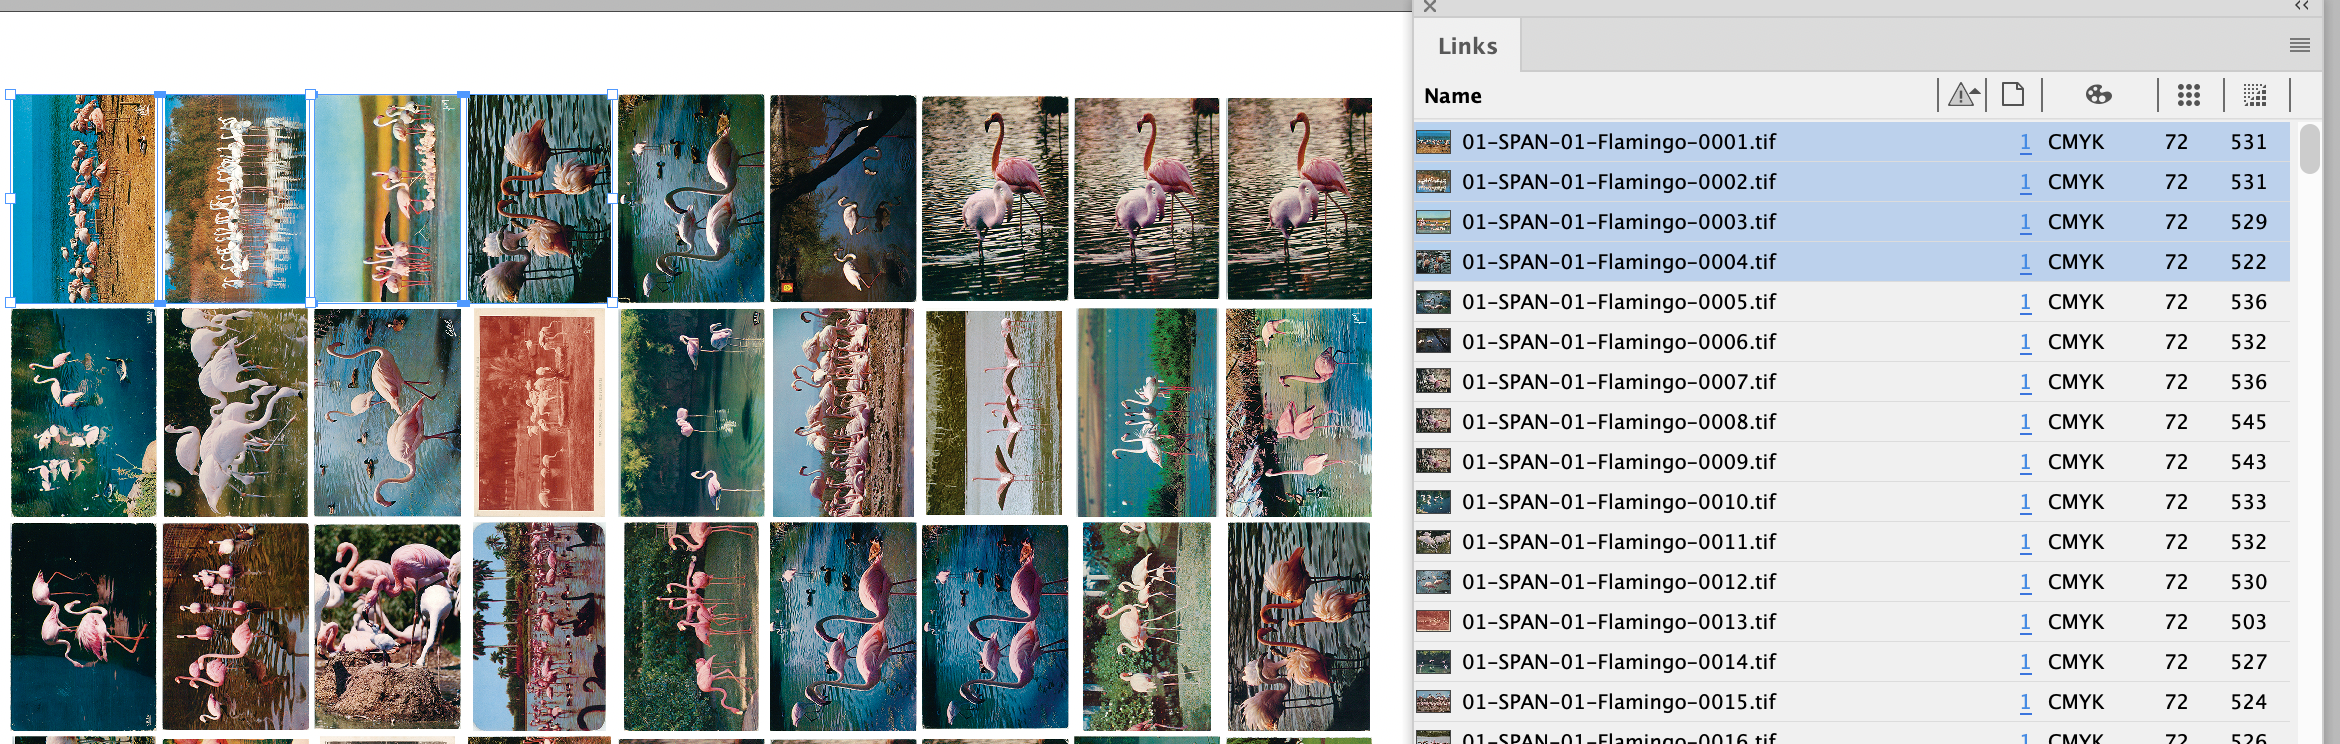
Pain point one – that’s a lot of data!
Despite the resolution of the images being manageable, the sheer volume of data would complicate matters fast. For example, if each image was 1Mb, then over the book there would be more than 50Gb of data just for the links alone, never mind any InDesign file.
That would be fine if the client was local, but they were on the other side of the planet, so transferring files of these sizes would take a long time for me to upload, and then my client to download.
For this reason, the images were left as they were so that the only finished files I need to pass onto the client would be InDesign files that could be relinked back to their respective folders at the client’s end, rather than package artwork that the client already had.
Pain point two – getting the data from the links to make a merge from the postcards
The client had provided the links in subfolders of categories and then sub-sub folders with further categories. The client didn’t prepare a database to use, but making a database of images from file directories is quite easy using Mac terminal.
1 – Open a new terminal window on a Mac
2 – In the prompt type:
find (folder location) -type f > result.txt
This would make a text file that contained the path of all images within the folders and subfolders. This text file could then be used as a database for a Data Merge.
Pain point three – assigning English categories to the postcards
The image database is now created, but it needs both English and Spanish categories (that appear in the footer of each page) added to complete the database.
To do this, I took the database I’d just made using terminal, and made a copy of it. With this copy, I then opened BBEdit and used regular expressions to remove the folder names, and then remove the numbering and file extensions. This left me with a long list of words.


Pain point four – an updated brief – SPANISH and English now
It was at this point the brief had changed and I was provided with an updated list of chapter names in both English and Spanish.
The English names were easy enough, I could go through the names in my text file and compare them to the names on the database supplied. If they matched – great, if not, adjust them to the new English name using find and replace.
The Spanish names were a little more difficult. For example, if I replaced the word Flamingo with Flamenco, that would be fine… unless a phrase like Pink Flamingo appeared, and then this would become Pink Flamenco (as only the word Flamingo was changed) and this is now incorrect in Spanish.
To perform a series of find and replace that wouldn’t turn English into “Spanglish” but perform the substitution correctly, here is how that was done:
- Take the excel file with the English words and Spanish translations
- Sort the English column by word length, so phrases to start, and single words at the end. This will then give me a find/replace list that will replace whole phrases and single words correctly. But now these replacements need to take place on the Spanish text file.
- Make a blank InDesign file and import the Spanish text.
- Run a script that will run a find and replace on words in an Excel file.
There are several scripts to do this.
- One is from Mars Premedia,
- Another is a plugin from Automatication
- Another is one that uses GREP searches called ChainGREP
I’ve written an article that also includes earlier methods here. However, my way to do this was with a script native to InDesign. I’ve explained how this works previously here.
- Once run, copy the resulting text back into the Spanish text file.


Pain point five – combine Spanish, English and data into one database
I now have three lists:
- File locations;
- English Categories; and
- Spanish Categories
Now these need to be combined into one list. This is how I did it:
- In a new InDesign document, I made a new table that was 50200 rows by 3 columns.
- The first row of the table was the header. In the top left cell I added the word English, in the top middle cell I added the word Spanish, and in the top right cell I added the word @image. This row will be the header row for the data merge.
- In column 1 underneath the header row, I copied the text from the English txt file into the cells underneath the header row.
- In column 2 underneath the header row, I copied the text from the Spanish txt file into the cells underneath the header row.
- In column 3 underneath the header row, I copied the text from the File locations txt file into the cells underneath the header row.
- I then used InDesign’s feature “Convert the table to text” with tabs as column separators and enter as row separators.
- Once the table was turned into text, I copied the text into BBedit
- This text was then saved as a UTF16 text for a data merge

Pain point six – make the data merge
The client had provided me the template to use, and this required minor modifications to make it suitable for the data merge.
Unlike cryptopunks, this required one page with one image placeholder and two text placeholders – one for the Spanish field, and one for the English field. The text was also assigned no fill or stroke and sent behind the image so that it was only containing the image information for the footer to reflect.

Now to put the English and Spanish text fields to use. Each printed page contains a category that appears in both English and Spanish, based on the first picture on the page. This is fulfilled by adding text descriptions beneath the image with a no fill or stroke font, but in a paragraph style that was assigned a text variable that appeared in the footer.


The export was then run to a new ID file using multiple record settings that also capped the amount of records per ID file to 2880 (this would give us 32 pages of 90 images per page). The merge also used InDesign’s Multiple Record Layout that I do not usually use.

Once merged, 17 x 32 page files plus one 14 page file were created. A complication is that the merged ID files appeared only as right hand pages. Luckily, a final manipulation was made by toggling the allow document pages to shuffle off and on so that the pages would appear as left and right pages.
A variation to apply the category names?
An initial idea was to use Adobe Bridge and adjust the Title and Description metadata of folders of images to contain the relevant category. This would then be able to be called upon during the data merge by adding a caption to a data merged image that would call upon the image’s metadata in the form of a live caption.
Doing this had several advantages:
- In the final file, if images needed to shuffle from page to page, the category would update in real time.
- It would save performing steps 3-5 of the procedure that I’ve just outlined.
However, this method was abandoned as it had a major drawback – it would require sending these images to the client as it had metadata added to it not in the original files. If these images weren’t sent, then a client would receive the merged InDesign files but the captions would no longer reflect what was in the metadata and would ruin this technique.
If I was to do this again?
Hindsight is a great thing. Looking back on the project now, I think Data Merge with multiple record layout and leveraging text variables was definitely the way to go. That said, I can see some ways that this could have been streamlined even further:
- If the images had been resampled to 300 PPI, this would have brought the resulting filesize down in some circumstances by at least 14%. With an adjusted PPI from 531 to 300 on images averaging 420 x 290 pixels in size, the sheer amount of pixels to process would almost have been halved!
- If I had asked the client to add the categories to the Title and Description metadata using Adobe Bridge prior to submitting the art for layout, this would have eliminated three steps from the procedure outlined, as live captions could have been used in conjunction with text variables to produce the first image category for each page.
Another project complete!
So there you have it – another breakdown of a complicated brief to create a very large document.
If you have found this series interesting so far and would like to see more like it, or perhaps there are questions or recommendations for these techniques, please let me know in the comments below.