
A colleague of mine recently had a task of inserting lineart scans into an InDesign file and then rotating the images so that they were straight on the page.

During this process, he’d asked:
What’s the shortcut for rotating an image by a fraction of a degree?
While I can remember many of the shortcuts used in InDesign, I couldn’t remember a shortcut for this item, and after consulting my InDesignSecrets shortcut poster I realised that there isn’t one. There is a shortcut to increase the angle from 1 degree to 5, but not smaller increments… which I thought was something that people would have asked for by now.
For the task he was doing, he definitely needed one, otherwise the workflow was:
- Select the item to rotate;
- Go to the rotate tool;
- Type the fraction and click OK
- Check the result and if further adjustment was required, click back into the rotate tool and type a new fraction and try again until acceptable.
A shortcut would definitely make this easier.
Tomaxxi to the rescue
Luckily, one was easy to find online. Scripter Marijan Tompa (whom some may know by the name Tomaxxi) wrote an article on how to write such a script.
In my colleague’s case, the script only needed to be adjusted by changing the angle from 45 in Marijan’s example to 0.1 like so:
var myTrans = app.transformationMatrices.add({counterclockwiseRotationAngle:0.1});
var myObj = app.selection[0];
myObj.transform(CoordinateSpaces.pasteboardCoordinates, AnchorPoint.CENTER_ANCHOR, myTrans);
The script was saved as rotateAnticlockwise.jsx and added to the scripts. A second copy was made but this time adjusted from counterclockwise to clockwise like so:
var myTrans = app.transformationMatrices.add({counterRotationAngle:0.1});
var myObj = app.selection[0];
myObj.transform(CoordinateSpaces.pasteboardCoordinates, AnchorPoint.CENTER_ANCHOR, myTrans);<code>
This too was saved as rotateClockwise.jsx. and added to the scripts.
From here, my colleague could then go to the scripts palette and run the scripts as required.

Similarly, my colleague could make sure that scripts was checked from the quick apply menu.
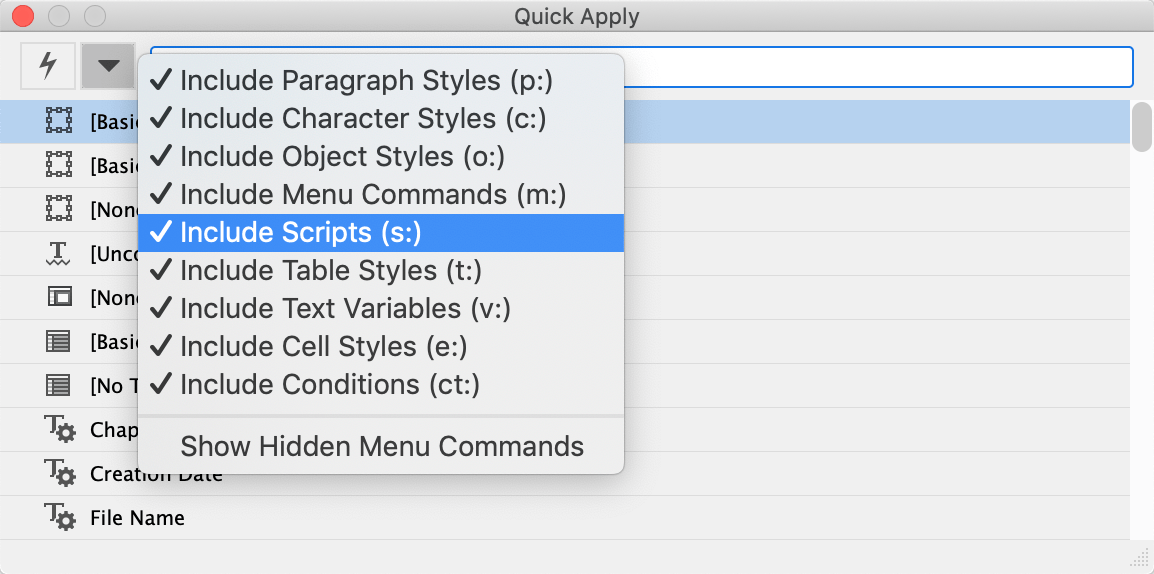
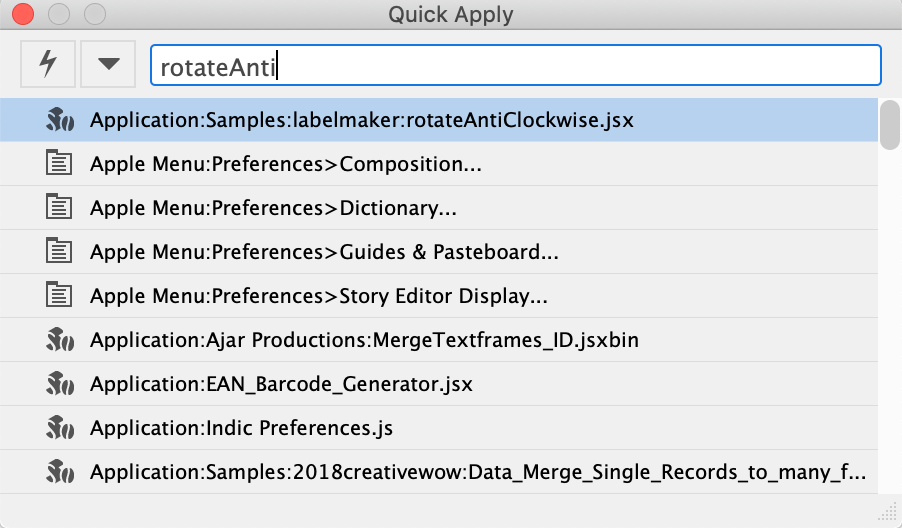
And from here, go to quick apply by pressing Command + Return and typing the first few letters of the script. This choice would stay in the quick apply so need only be done once.
But the title of the article was a shortcut, so shortcuts had to be applied. That is easily done though by going to the Edit Menu and selecting Keyboard Shortcuts.

In the next dialog box, choose Scripts from the Product Area, navigate to the appropriate script, then place the cursor in the New Shortcut text field in the bottom right and press the keys to become the new shortcut. If the type beneath says [unassigned] it means it won’t interfere with other shortcuts, so click Assign. Do the same for both scripts, choosing different shortcuts for both.

Done. My colleague now had his shortcuts and could rotate the images without having to keep moving his cursor to the rotate panel and manually key in entries.
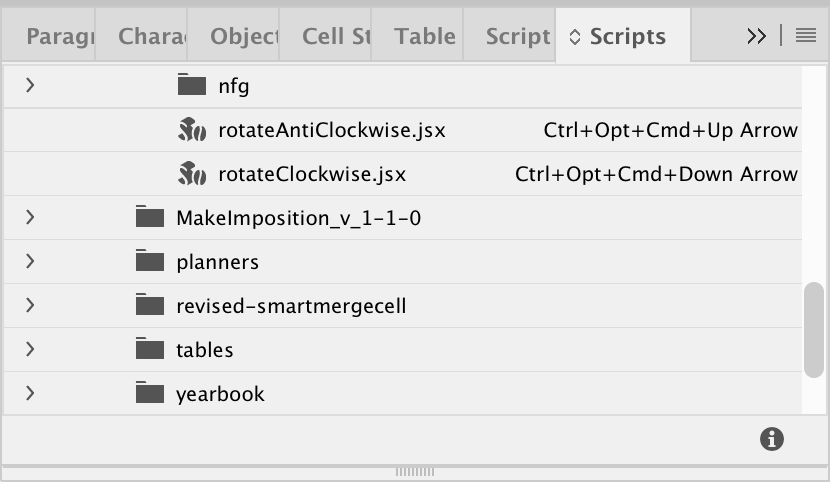
Given the scripts now had their own shortcuts, these were also visible in the scripts panel, just in case my colleague forgot what the shortcuts were.
But importantly because shortcuts were assigned, they could also be hot-keyed to his ergonomic mouse. Similarly, the commands could be hot-keyed to other inputs such as those discussed in a previous article.
On that note, I thought a shortcut like this would exist, given the amount of other shortcuts that allow for nudging/moving in smaller units. What are your thoughts? Let me know in the comments whether this is a specific use-case, or something to be pursued over at the InDesign suggestions.