
My preferred of proofing artwork to clients is to provide a PDF proof of the artwork from my Adobe InDesign file, along with specific instructions to open the PDF in Adobe Acrobat Reader, and use PDF mark-ups using Adobe Acrobat Reader’s comment feature.
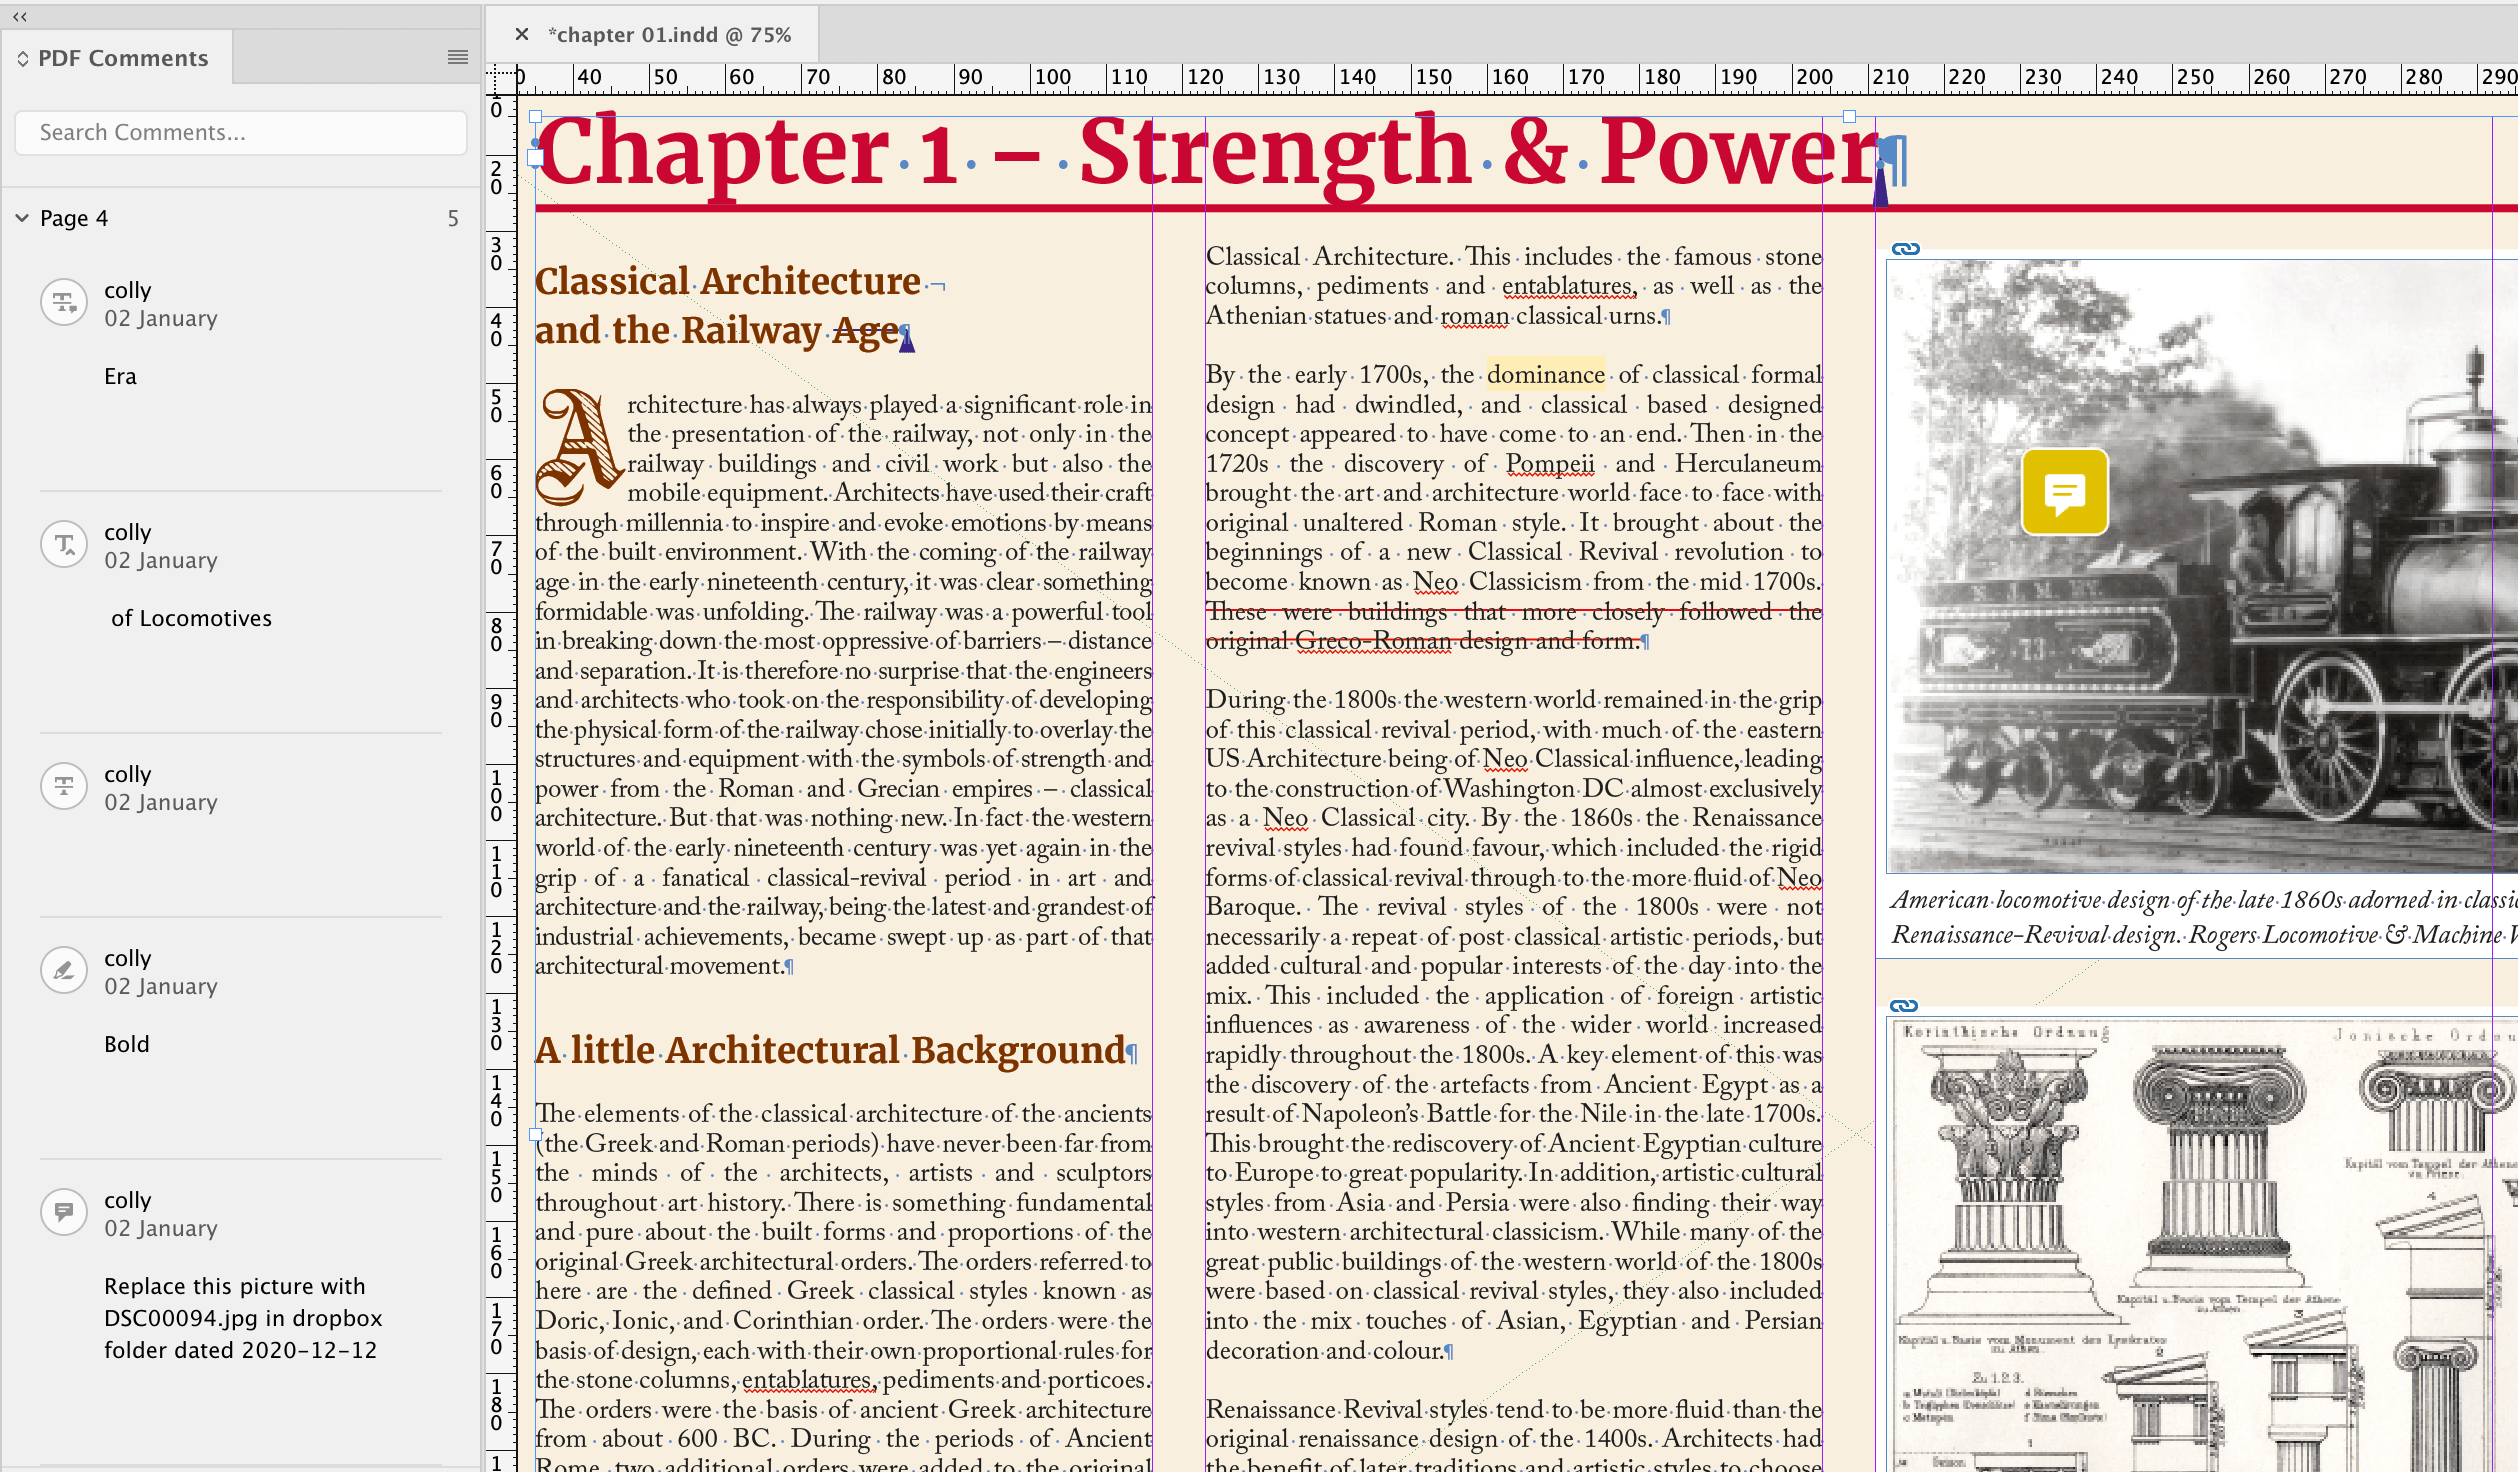
In a perfect world, the markups would be returned from the client looking something like this:

This will allow me to take advantage of InDesign’s “Import PDF Comments” feature:
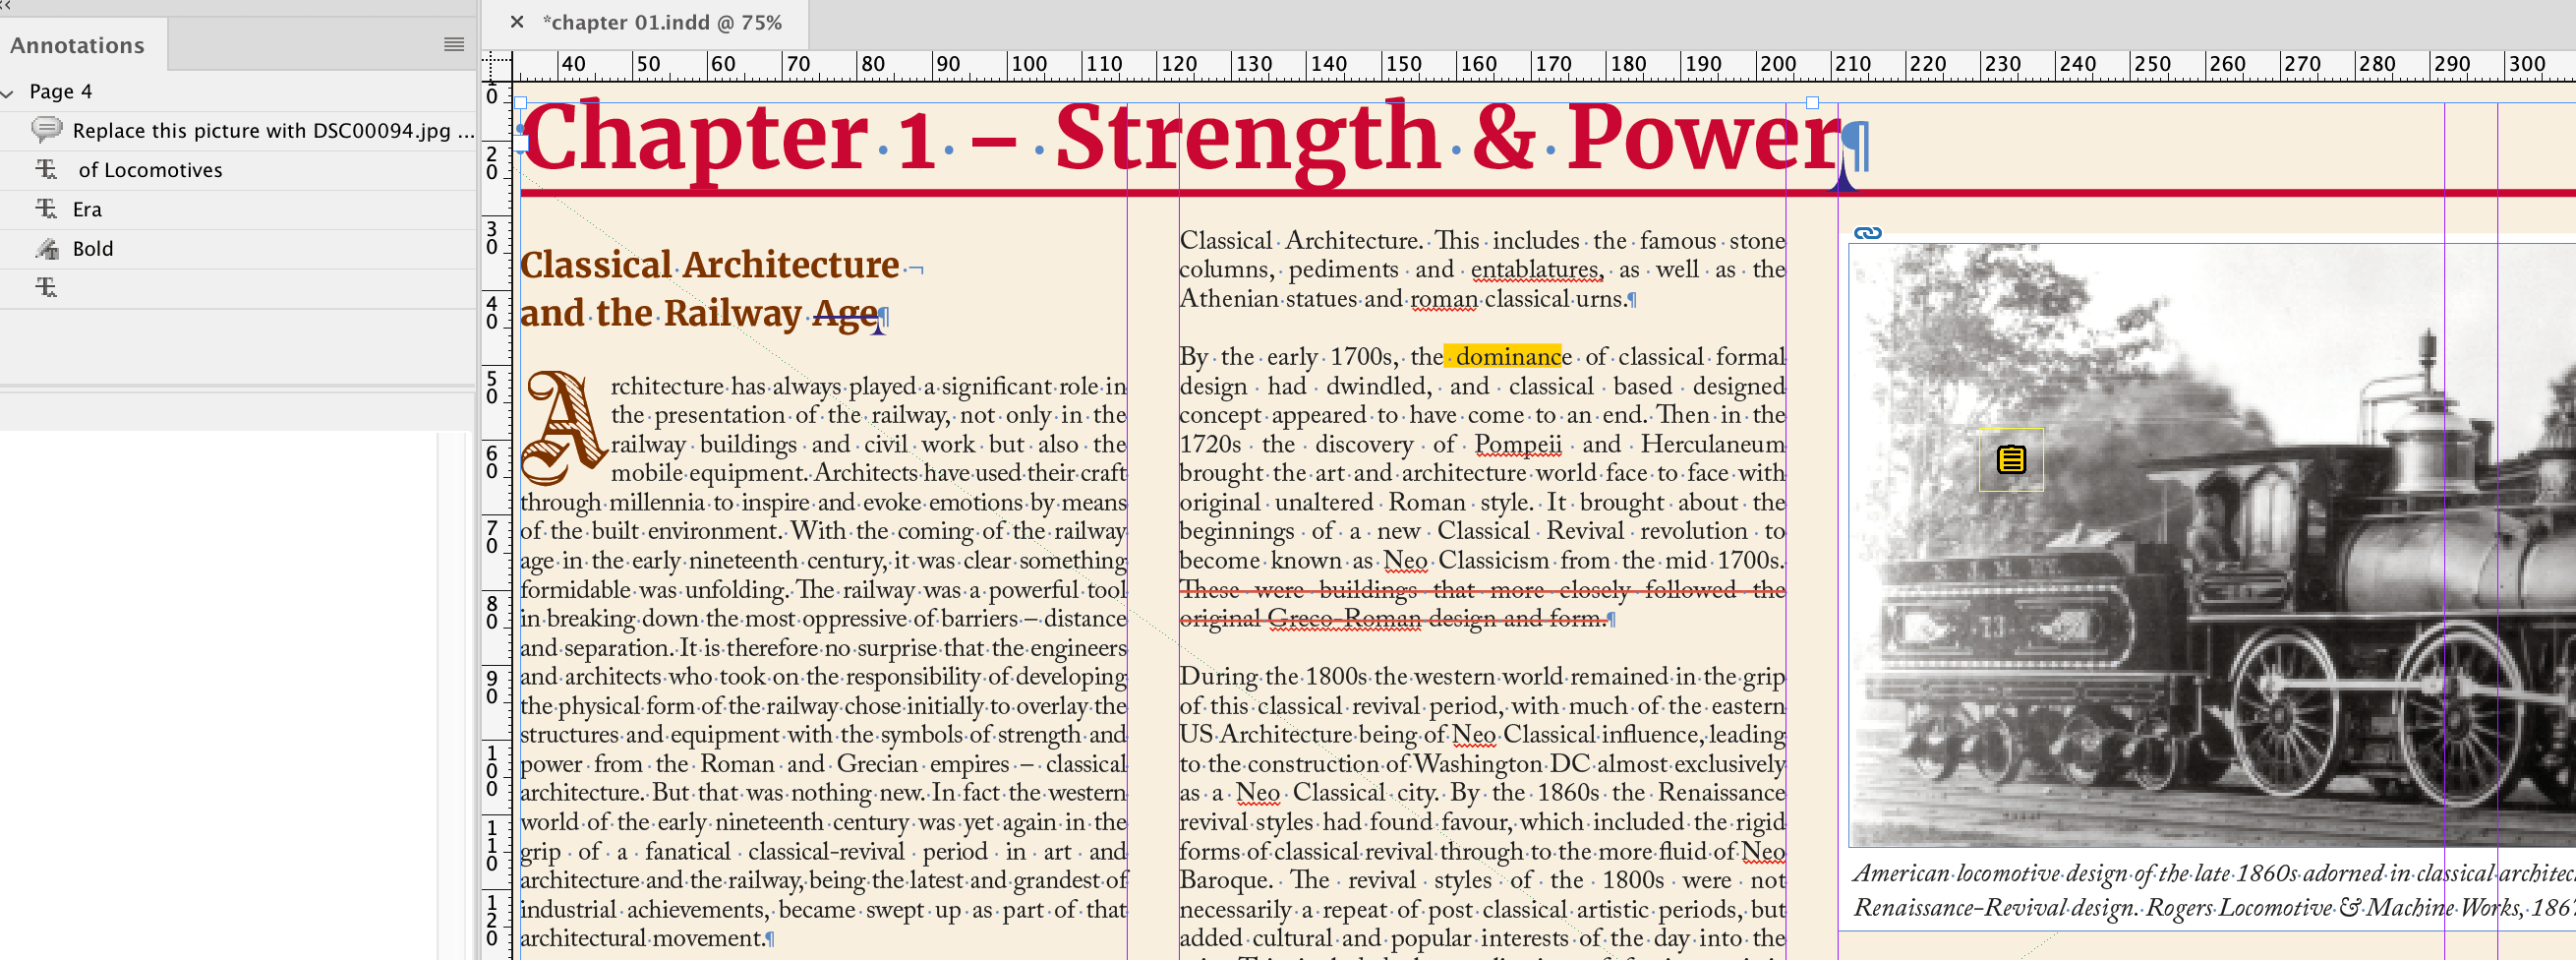
Or similarly via the Annotations plug-in from DTPTools:
Each method has its own strengths and weaknesses, but the goal is the same – to take the markups from a PDF file directly into InDesign to accept or reject alterations.
Unfortunately, we don’t live in a perfect world, and proofs can come back in a variety of ways:
- Provided as a series of instructions, usually as bullet points in an email or given over the telephone;
- Printed out by the client and marked up with a pen. This can be made worse if a red pen isn’t used; the client’s alterations are illegible or uses their own shorthand rather than proofreaders’ marks; or if the hard-copy alts are made into poor-quality digital images by scanning or photographing (or worse, faxing).
- Submitted to an upload service that allows markups to be made on its platform; but not extracted and able to be imported into InDesign via Import PDF Comments or annotations (e.g. Box and Dropbox)
- Markups are made, but using software other than Acrobat (e.g. Mac Preview) that have difficulty importing into InDesign’s solution or the plug-in;
- Markups are made, but using markup tools that allow for subjective opinion (e.g. speech bubbles, arrows, drawing tools) rather than replacement, strikethrough or text addition. Speech bubbles have their place in alterations, but usually to indicate that a larger content change is required, rather than for small type replacements.
- Markups that are duplicated and effectively “clog” the commenting panel (i.e. using more commenting than is required to take in an alteration such as the example below).


- Rather than using markups, the client has actually edited the PDF with a PDF editor of some description and made the changes to the PDF itself (as shown below)

Most of these bullet points are a way of life with round-tripping of proofs, but the last point is the most frustrating when taking in alterations as:
- InDesign or the plug-in literally have no markup instructions to take in, so no alterations appear in their respective alteration panels;
- It can give the artist a false sense that no alterations were made as no markups are present;
- If alterations are subtle, it can be difficult to tell where the alterations were made.
I’d like to say this outcome rarely happens, but the reality is that this happens far too often. My first impulse is to contact the client and inform them that the alterations aren’t usable and to use the Comment feature rather than the Edit feature, but that has the following drawbacks:
- It is likely to frustrate and annoy the client, especially if many alterations were made. This is moreso the case if the client has followed the printer’s instructions to mark up a PDF but has mistakenly misunderstood the difference between the Edit and Comment feature of Acrobat.
- Even if the client complies, it introduces errors such as alterations missed that were on the previously sent proof. It also takes time to prepare the alterations again, time that may not be available.
To use a card player’s metaphor, we have to play the hand that we are dealt and somehow compare the two files to determine what changes were made. I will also communicate to the client our preferred method of proofing to avoid similar incidents in the future.
But what ways can the two files be compared to take in the alterations?
Visual comparison
This can be done on-screen by either having both applications open between two monitors or one monitor with the windows split. It can also be done in an analog fashion by printing out the original and the latest alterations, then using a light table, overlaying each altered page over each original page and looking for differences. Unfortunately, both methods are time-consuming and subjective.
Visually overlay the PDF into the InDesign file
This involves placing the PDF of the alterations into the InDesign file, but on a layer above the artwork and with a transparency so that an overlay comparison can be made. To do this:
- Use the multipageimporter script with the following options to place all PDF pages into the InDesign pages on their own layer above the artwork.

- Make a new object style with 25% normal opacity as its only property.
- Use the following script by “Vinny” that will apply the object style to the imported PDF only. (This script works for documents less than 100 pages, but upon testing will throw a javascript error).
With overprint preview turned on, it will now become possible to see alterations that may have been made, and toggling the PDF layer on and off will assist in this process.

However this is still a manual, time-consuming and subjective task.
Kasyan’s comparison script
This is a script created by Kasyan Servetsky based on an article by Mike Rankin at CreativePro.
The technique in the article is used to compare two InDesign files by placing original and altered InDesign files into a temporary document applying different transparency settings to each file, and through the transparency settings being able to identify where alterations were made. This can still be applied in this use-case but an added step of an additional InDesign file that contains a placed PDF of the altered file and comparing between the two files.


Like the previous methods, it is still a time-consuming, manual and subjective task.
Dedicated file comparison software
Software such as Global Vision offers comparison software that loads both the original and altered files and performs a comparison that highlights the differences between the two files. It is worth looking at a video of the software in action.
It isn’t the only software that compares PDFs, and a brief search of the internet will yield several online services that perform similar tasks, such as:
- Diffchecker
- PDF Forge’s compare tool
- Kiwi PDF comparer
That said, naming the sites above is not an endorsement, so if looking for an online option, make sure to perform all appropriate due-diligence before considering any provider.
Compare files in Acrobat itself
Acrobat does have a similar feature from the view menu where both original and altered files are compared between each other.


The results are highlighted, but the report and specific errors are not always as obvious as the results prepared with Global Vision’s software.
Using Acrobat’s compare files data as the PDF markup
There is a technique that can take the comparisons from Acrobat’s Compare files feature and treat them as markups. The technique is as follows:
- After the comparison is run, hit the close button on the top right.
- Navigate to the first page that has the compare results title page and delete it using Command+Shift+D.
- Save the resulting file.
The resulting PDF can then be imported using the Import PDF Comments feature from InDesign

Or by using the Annotations plug-in by DTPTools

Note that the plug-in displays the three changes that were highlighted in the comparison document, but InDesign’s Comment Import only displays two, while acknowledging that there is a third somewhere on the page.
Consider other round-tripping solutions within InDesign
There are several third party solutions available from the Adobe Exchange that allow round-tripping via InDesign such as:
- GoProof;
- inMotion;
- PageProof;
- ProofMe
The advantage for clients is that rather than opening the proof in Acrobat, clients are directed to a website where alterations can be made. This avoids clients inadvertently editing the PDF and instead allows them to provide changes that will need to be made by the artist.
Having tried some of these proofing systems, one thing in common was that alterations that clients could make was only in the form of comments, rather than strikethroughs or additions that are possible with the PDF commenting tools. These services usually require a log-in system which can be a hurdle, and are usually paid services.
InDesign’s Share for Review
InDesign 2020 and above does contain a feature called Share for Review that works in a similar way to these third party solutions, though the 2021 release allows for text highlighting, strikethrough and additions as well.
Another advantage is that clients no longer require Adobe Acrobat or a PDF reader to open the proofs, only a web browser. Check out Daniel’s video over at Bring Your Own Laptop to see this in more detail, along with other 2021 update features.
It is worth pointing out that this is not Adobe’s first attempt at a proofing solution, with an earlier system called CS Review introduced in May 2010 and then deprecated in April 2012. It is also worth pointing out that Share for Review is a feature offered in InDesign that – at the time of writing – has no comparison from competitors such as Quark Xpress or Affinity Publisher.
So far as my own work goes, this proofing method was not considered when Share for Review was released in June 2020 as the markups were limited to pin and drawing tools. Additionally, the release of the expanded tools happened during a peak-time in our production, and was too difficult to switch clients over from the PDF round-tripping method to this method in such a short space of time. It was also too early to gather other user input about the experience and bugs, so more feedback was required before considering this as a real-world solution.
Now at the time of writing with the expanded tools, I will begin trialling this method and report my findings once I’m confident there is enough to report.
Last word on this article
Up to this point in time, PDF commenting has worked effectively as a round-tripping solution from my perspective in the majority of my work, though it isn’t without its issues such as:
- Establishing the process with clients, especially with staff turnover as the process needs to be established and explained to ensure that a client will not only mark up a PDF (rather than make changes to the PDF itself), but that the markups are prepared correctly and efficiently;
- Proofing large file sizes;
- Proofing to clients who are at the mercy of their IT department’s rules as to what software or websites they can or cannot access;
- The Adobe Acrobat software itself, considering in a previous version the Acrobat team removed features that most casual users of the software would consider essential (much to my frustration until customer demand made them reinstate it) and how the software will be supported in future releases and for future operating systems.
What have your experiences with PDF comments been? Do you use a similar round-tripping method or something different? And are there any technologies in this space that haven’t been mentioned? Leave your comments below.